My follow on (alternate history) ECW campaign has been abandoned for the moment, partly because of a steep rise in the number of other gaming projects I’ve involved myself in, and partly the difficulty experienced in coordinating the timely receipt of orders from the three real life protagonists.
With the commitment to that project removed I can indulge in a greater variety of gaming subjects but shall continue to stage the odd ECW game from time to time …like this one.
Unusually for me I’ve abandoned my “go to” made up scenario concept and have instead opted to try to model an actual battle. On this occasion I thought I’d have a pop at Lansdowne Hill in 1643.
I’m pretty sure most of my readership will be familiar with this battles context and its main protagonists so I’ll spare everyone the history lesson and get down to brass tacks.
It was a lovely day outside so that’s where I decided to go and play. Using an approximation of the forces involved I set up Waller’s Parliamentarian force on the crest of Lansdowne hill and Hopton’s chaps down at its base.
The rules were to be Msr Foy’s excellent C&C ECW (as usual) with a couple of house rule adjustments that have accrued over time.
Moving away from the standard C&C card driven activation Msr Foy developed a separate system called Ramekin which amongst other things takes away the zonal nature of the order cards. I’ve used it several times and found it works well, however on this occasion I wanted to use the forthcoming battle as a test for an activation mechanism I’ve shamelessly nicked from Bob C’s portable Colonial Wargame rules.
For anyone that’s interested these are the home brew alterations to C&C ECW that I regularly use:
1. Rally. When a unit is activated it may attempt to rally back any nearby lost and wounded men. The attempt does not require the presence of a senior leader. A unit may never rally back to full strength and may only rally back one hit loss at a time. The rallying unit may not do anything else during its activation.
2. Disorder. Units passing through or over “difficult terrain” receive a disorder marker. For mass, formation reliant units, it is imperative that any disorganisation within the ranks is quickly addressed or their combat effectiveness becomes compromised. Upon activation a unit with a disorder marker must spend its turn getting itself reorganised, whereupon the disorder marker is removed. The unit may not move or fire during its activation. Units forced to retreat due to flags rolled in combat and even horse choosing to retire from infantry melee also gain a disorder marker. A disorder marker reduces the defensive “battle back” die roll of an affected unit by 1 die. A unit may not incur multiple disorder markers. No senior officer presence is required to enable a unit to regain its formation formation / cohesion - it being largely a self policing organic response from the unit members.
3. Blown horse. Horse units are limited to two charges per game. After the second charge, whatever the outcome they are marked as “blown”. Blown units may continue to move and fight defensively but may not make a further charge to contact for the rest of the game.
For the purposes of today’s activation experiment each sides overal commander is rated either poor, average or excellent. This rating has a numeric value of 1, 2 or 3 which is added to a 1D6 die roll. The total arrived at in this die roll is the number of units that can be activated in a turn. For the record, and despite having a Royalist bias, I rated Hopton as average and Waller as excellent - cos he just was.*
Using a map from the internet I set about creating an approximation of the forces involved and a rough layout of the hill in hexon. For the foote I was working on circa 600 men per regiment and for the horse about 350. The Royalists did have cannon present but they get nary a mention in dispatches, so I omitted them from the game.
 |
| Looking uphill from the Royalist right flank. |
 |
| View down hill from the Parliamentary centre. |
 |
| At start deployments as per the internet. |
Hoping to keep this as close as I could to the recorded events I didn’t bother with happenstance cards but I did try to capture some of the known occurrences, which again I’ll list below:
1: Hopton seems to have barely been in control of his Cornish lads and after a mornings worth of back and forth his pikemen decided unilaterally(?) that they were going to “fetch down them guns” - referencing Wallers cannon positioned along the crest of the hill. Contemporary documents refer to the pike climbing the hill to engage but I rather fancy they were just really very much to the fore with bodies of the each regiments musketeers following in their wake. <<Discuss>> To that end each regiment ascending the hill is deployed pike first and no firing is allowed by the follow on musketeers.
2. Both sides had large bodies of horse present, and by the time we join the battle they’ve been skirmishing back and forth for most of the morning. To reflect this all horse will be allowed only one charge to contact rather than two, before becoming blown.
3. The Parliamentarians had constructed a line of rough field defences along the ridge which I’ve represented here with broken ground hexes. They are far from impregnable and as in C&C ECW they serve only to negate the need to retire from combat from the first flag result rolled.
4. Continuing the theme of Hopton’s initial lack of control over his men, my initial “most likely to succeed” activations must be pitched at the foot regiments heading up the hill. (I wanted to move my dragoons into the central woods first - but hey!)
For reference, Bob C’s activation rules follow this procedure:
Each side places a concealed numbered counter next to each of their units. The lower the number the more likely the unit is to be activated, so some thought is required on placement. While I carefully chose mine as the Royalists, for solo play my absent opponent had his counters placed both secretly and randomly.
Both sides roll 1D6 and add the generals overall capability rating to it. The resultant number is the number of activations available to each side this turn.
All numbered activation counters are revealed and any showing a number in excess of their sides newly determined activation total are removed. These units may not be ordered to do anything this turn, but they may fight back if attacked in melee.
Both sides roll 1D6 and the highest roller gains the initiative. The player with the initiative activates his lowest numbered unit (unsurprisingly it’ll be a 1). Once it has done whatever the owner decides, play passes to the opponent who activates his unit number 1. This back and forth continues through ascending order until a player has used up all of his activations. It is most unusual for players to have the same number of activations and one side usually has to sit and take it as their opponent uses up their activation advantage.
For a solo player like me the randomised allocation of numbers to the opponent prevents prior knowledge of intent and capability…which I like. Though you may not know before hand how many of your units will be activated you can at least try to ensure (by low number placement) that the really important ones get their time to shine.
Enough with the mechanics already!
The victory conditions were set as 1 victory point for each field work hill crest captured by the Royalists and 1 victory point for each unit destroyed by the Parliament. The game would end automatically if the Parliamentarians were driven behind the large stone wall to their rear - as happened in the actual battle.
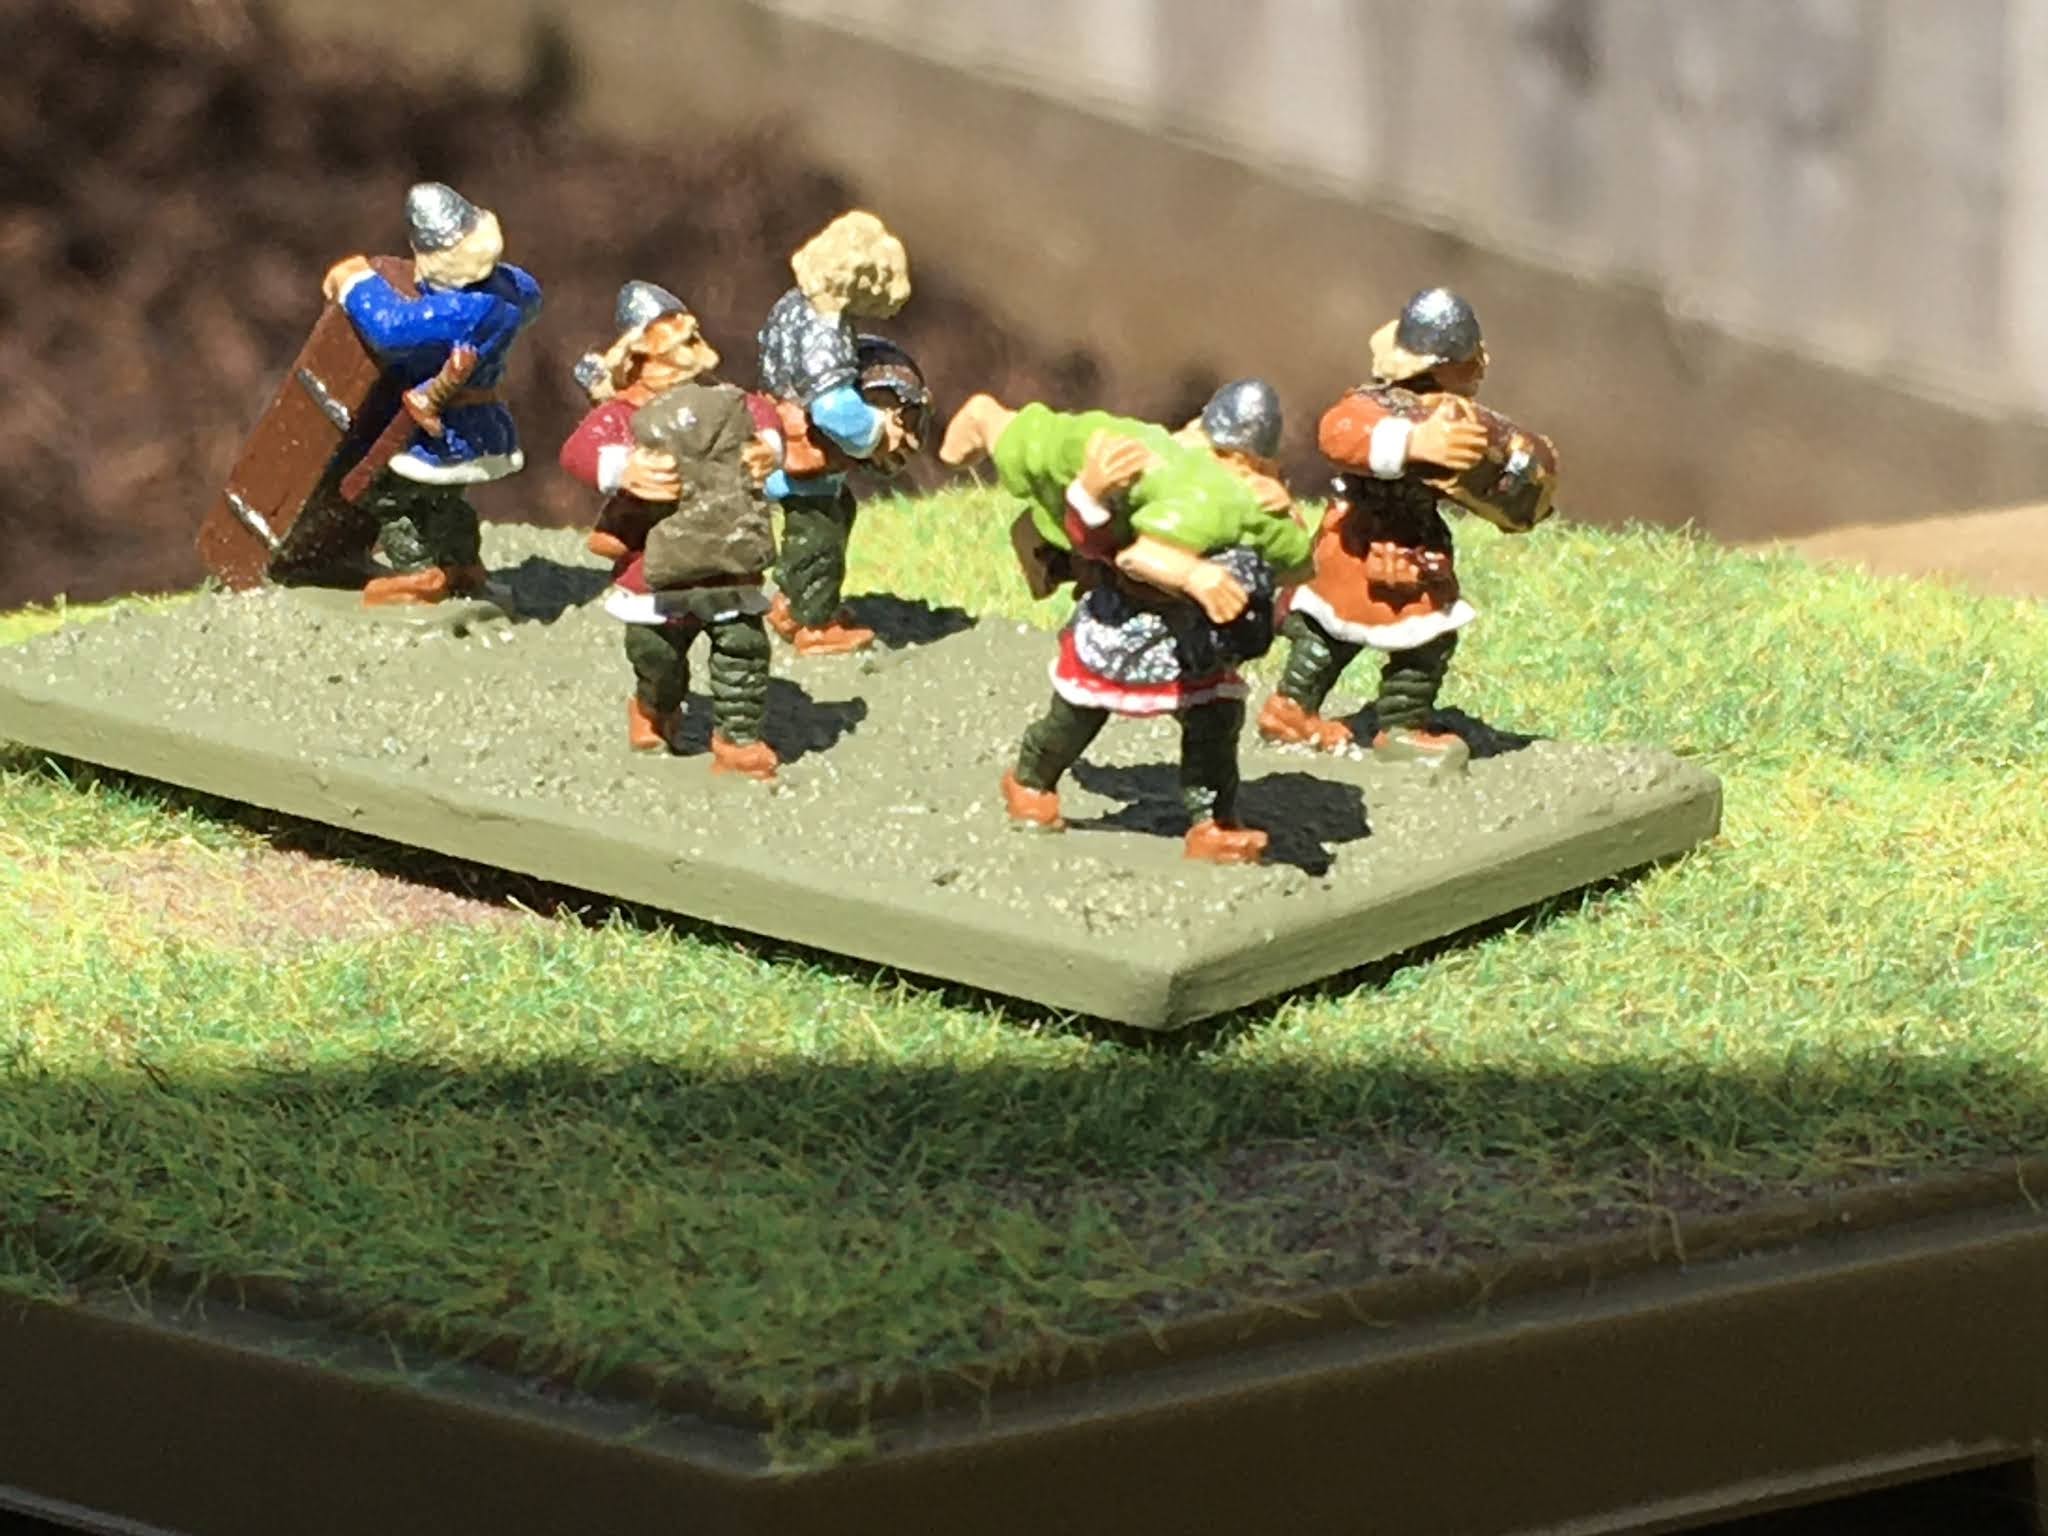
All figures are 18mm Wofun.
 |
| View from the Parliamentary left as the grinding match begins. |
In another change to usual custom and practise I’ll keep the description of the actual battle relatively brief since its not actually a situation for tactical finesse. In truth I would not have fought this action at all by choice but putting myself in Hopton’s shoes I, like he, did not have that luxury - for his foot units had decided it was going to happen anyway!
The battlefield quickly turned into a fight of two halves with most of the Royalist progress being made on the right flank. Though the left was relatively unmoving, cannon fire and a charge by Hesilrigge’s lobsters did cause two Royalist foot units to rout off the board.
On the right the Royalist foot surged up the hill until they came nose to nose with cannon loaded with the 17th century equivalent of canister. One regiment was destroyed outright and the others took turns in reaching the top before falling back with losses under fire.
Above: Foot in a sort of column heading up hill to the thinly stretched defenders. Note the activation number counters.
 |
| The Parliamentary guns on their left caused a lot of damage before “the lobsters” did their work. |
Above: Royalist horse (centre) were the first to break into the enemy lines but they were quickly thrown back with loss. Waller and staff are on the left of picture.
Eventually numerical superiority including a number of Royalist horse (who did not run away as in real life) allowed a few mauled Royalist foot units, to crest the rise and push the majority of the defenders back behind the big stone wall to their rear.
Above: Waller and most of his defenders are pushed back behind the wall.
Though this progress only really happened on my right flank the withdrawal of Wallers men on his right would have been inevitable since they were eventually flanked by my dragoon’s in the central wood.
The scores when the game was called were 3VP’s for Waller (Royalist units destroyed or routed off the board) and 4 VP’s to me for actual hill crest field works I held. For all my efforts I’d only managed to destroy two battery’s of his cannon!
Above: Royalist positions at the top of the hill at game end. The field fortifications there were removed to help me remember which ones had been captured.
Though this translated into a tactical victory for the Royalists (huzzah), as in real life it achieved little and strategically Waller was undoubtedly the real winner.
As to my experimentation I have to say that I liked Bob C’s activation mechanism and I think I’ll give it another run out in the future.
The butchers bill.
Working on my previous assumption that the foot were in approximately 600 man regiments, the horse 350 and the artillery 30 man battery’s, I calculated that the units counted as destroyed would most likely have disintegrated into maybe 10% killed outright, 30% seriously wounded, and 60% merely running for their lives. (Not sure where I got this from so I doubt it has any actual validity). Those left with casualty markers on them at game end underwent the same assessment and produced the following overall stats.
Royalist killed - 280 (200 - 300 estimated in the real battle).
Royalist wounded - 840
Parliament - 66 killed (estimated at less than 100 in the real battle).
Parliament wounded - 180
So overall my “victory” wasn’t too far from that achieved by Hopton, however If you ever wanted a monument to the futility of war, here it is.
All those lives lost for a ruddy hill.
*So good that he even gets a mention in the musical Grease.
For those who doubt me, listen to the track “Summer Nights” in which a group of leather clad hoodlums sing… “Waller, Waller, Waller…huh! Tell me more, tell me more…” and so on.


